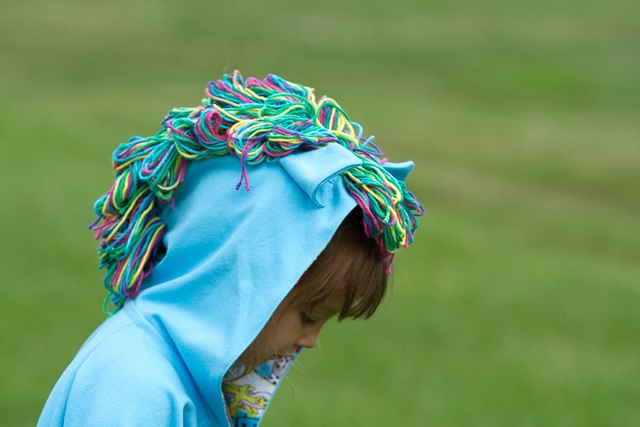
Crafting Con Tutorial: Adding a Mane to a Hoodie (or Hat)

My Little Pony Hoodie Tutorial for Crafting Con

I’m excited to share a tutorial for adding a mane and ears to a hoodie or hat. For this tutorial I’m going to use the Happy Homemade Sew Chic Kids Hoodie, but this tutorial should be generic enough to use for just about any hat or hoodie. My initial thought was to use the hat in the Oliver + S Little Things to Sew book, but my design director (aka preschooler decided she would prefer a hoodie at the last minute).

Supplies
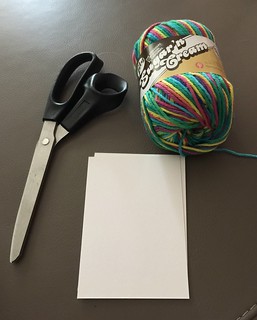
hoodie supplies

First thing you’ll need is to gather your supplies:

  • Your pattern of choice and all of it’s required supplies
  • Yarn the color (or colors) you want to use for your mane. When choosing a yarn keep in mind the texture and density, the yarn we ended up choosing for this tutorial is a thin, dense yarn that required more to achieve the fullness of the mane and ended up being rather on the heavy side. In the past we’ve used lighter, fuller yarn that has provided better results in my opinion.
  • Index card or other thin item approximately 3-3.5 inches.
  • Scissors.
  • Ear Template. You can find a template to use as an ear pattern or you can create you own. Searching for <animal type> ear pattern will usually get you what you need. For this tutorial, I used this critter ear template and have self drafted ears in the past.

Steps

  1. Make the Hair For Your Mane

    Take you index card and start wrapping the yarn around it to create a group of “hair.” Use another piece of yarn to tie the loops together; this is similar to making a pompom, just less full. Depending on the fullness of the yarn you are using, the number of wraps per group will vary — the rainbow yarn was 20 wraps per group, while a fuller yarn used around 15.
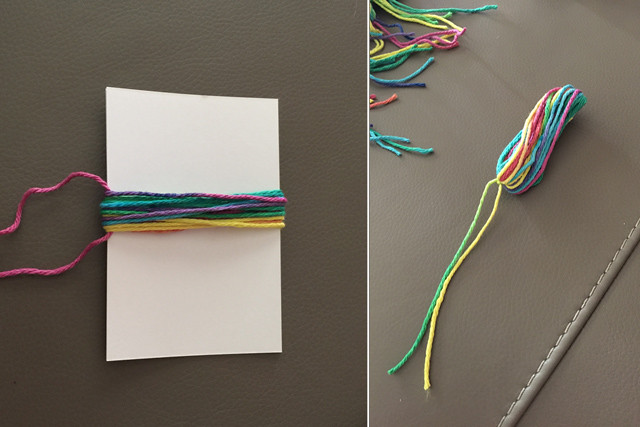
    Continue this process until you have enough hair for your mane.
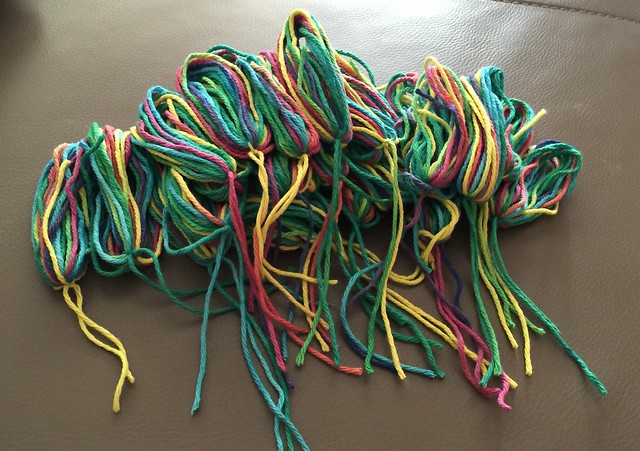
    pile of yarn groups to make mane

  2. Cut Out Pattern Pieces and Mark Mane Location

    After you’ve cut our your pattern pieces, make any necessary marks for designating the position of your mane. I wanted my maine to be around 2.5 inches wide, so while my pattern pieces were still flat, I marked 1.75″ inches in from each side (1.25″ on each half of the hood and .5″ for the seam allowance). Wanting to keep the hair out of the seam allowance I also marked off those areas.
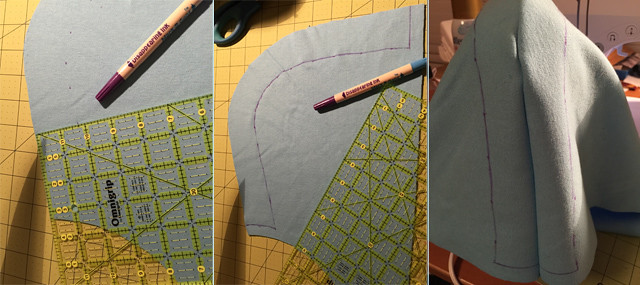
    marking mane location on the hoodie

  3. Assemble Outside of Hood

    I’ve opted to line my hood; I want to add the mane at this point before continuing with assembly. If you are not lining your hood or hat you can continue with assembly and add the mane afterwards.

  4. Add Mane

    Next, you want to add your hair groupings to your hood. Depending on the fabric you are using there is a couple of ways to do this. For the knit hooding I’m making, I found it easier to sew the groupings to the hood. For fleece, I’ve pushed the yarn ends through the fleece and tied the yarn on the inside.
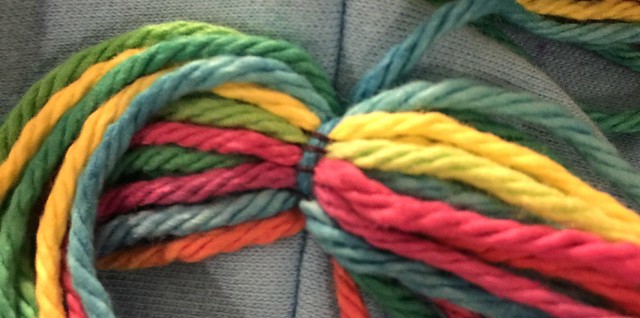
    sewing the yarn in place

    As you’re attaching the yarn, you’ll want to stagger your groupings. Your spacing will vary depending on the type of yarn you’re using and the size of your bundles.
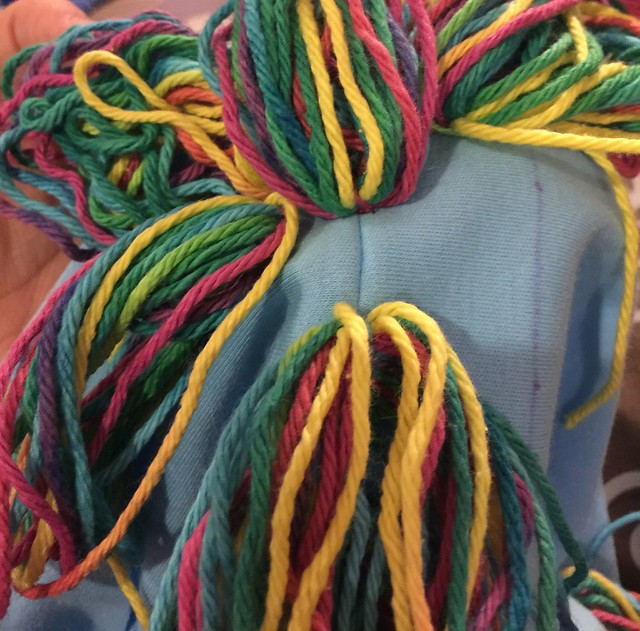
    staggering mane hair placement

    Find a model and try on your headpiece to see if you are happy with coverage and placement; tweak as necessary.
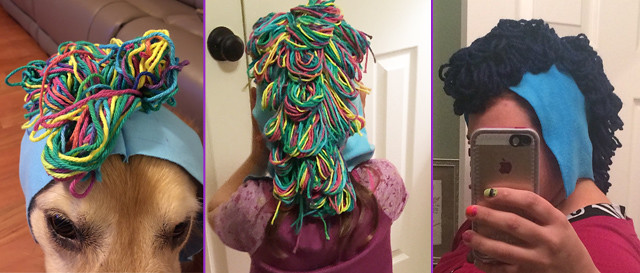
    testing mane

  5. Ears

    Cut and assemble your ears and then find a model to determine ear placement. *If you are lining your hood or have not completed hood assembly, remember the front seam allowance is still visible so keep that in mind or tuck it under to avoid placing ears too far forward.
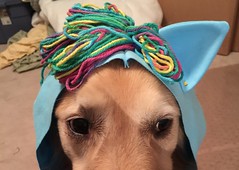
    After you determine ear placement, attach ears to hood.

  6. Continue with Garment Assembly

    Now is the time to add the lining to your hood and finish the remainder of your garment.

    ** Make sure to check seams are clear of mane and ears before sewing.

  7. Styling Your Mane

    Now that the garment is finished, it’s time to style your mane. Trim up any straggly pieces of yarn. You can leave the yarn looped for a more curly mane or you may cut apart the loops for a straighter mane.

    curly and straight mane examples

Now you should have a finished garment complete with mane and ears. My design director has determined we are not done with this project and has requested the addition of wings and a tail.
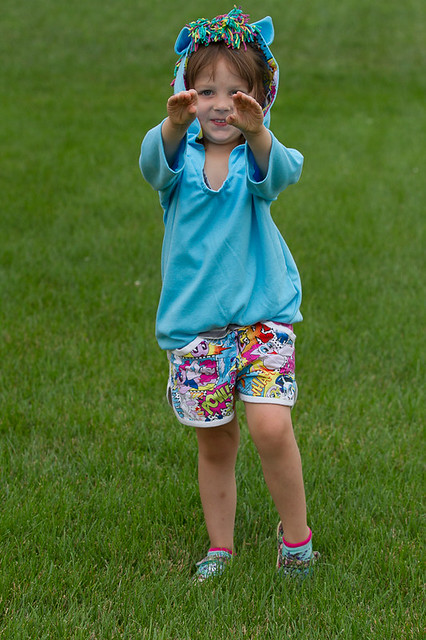
finished hoodie

Details

Patterns
Fabrics
  • Blue Knit from Chez Ami
  • My Little Pony Comic Cotton from JoAnns (used for hood lining)
Notions
  • Rainbow yarn from JoAnns. After we had picked out the appropriate red, orange, yellow, green, blue, and purple yarns, my design director spotted this rainbow yarn and decided it would work for Rainbow Dash.
Modifications
I added additional length to the top front of the hoodie because I remember it being a bit shallow during the sew along. I also remember it being pointy so I rounded it out a bit as well.
Notes
The biggest disappointment was the selected yarn and the amount needed to create a full mane. We’ve had better success with other yarns.
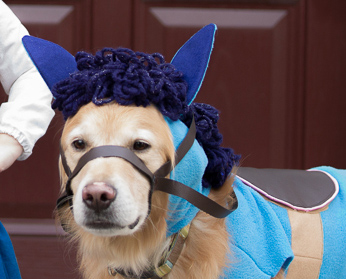
another finished mane

EYMM Anniversary Blog Tour

Have you heard? Everything Your Moma Made & More is celebrating 2 years! This is my first time participating in a blog tour and I’m so excited to be part of this one. Check out the end of this post for a link to all the blogs on tour, a discount code, and a chance to win some fabulous prizes!

EYMM 2nd Anniversary Sale & Blog Tour (7/27 - 8/3, 2015)

Join EYMM and 24 fellow bloggers as we celebrate the first 24 months of our pattern shop with a huge sale and giveaway! We will be featuring 8 different patterns for women and girls, as well as having a Manic Monday sale and a huge site-wide sale. There is also a great giveaway at the bottom of this post. Don’t wait because you don’t see sales like this often from EYMM and it will be over before you know it!

EYMM has some fantastic patterns and I’ve loved everything I’ve made from them. EYMM’s Piko Top was the first pattern I purchased for myself. And their every day essentials pattern has been used for some of my favorite night gowns. But today I’m going to show some of my recent projects from EYMM.

EYMM Calla Lily Skirt


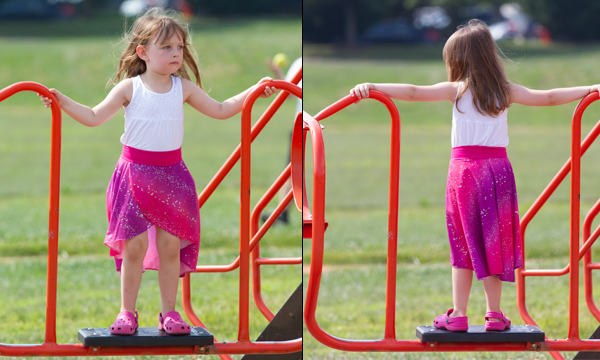
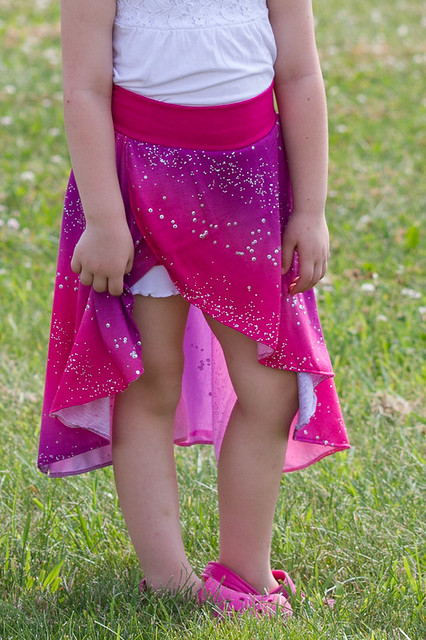
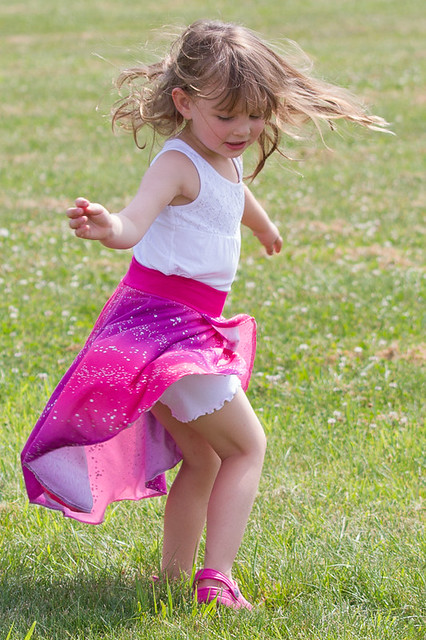
First up is the Calla Lily Skort pattern for girls. This was such a quick and easy sew (even more so when you leave off the shorts). The hardest part of this skirt was the fabric I used. Little Bit saw this fabric on a trip to Jo-Anns about 6 months ago and it’s been sitting in my stash wondering how to use it with all the sequins. It actually sewed up better than I was expecting, but the needle would shift left or right when it hit the sparkles.

EYMM Calla Lily Skirt

I left off the shorts portion as I thought this would be the perfect thing to thrown on over a Leotard after dance or gymnastics and can sill be worn with shorts underneath.

EYMM Calla Lily Skirt

EYMM Four Seasons Cardigan

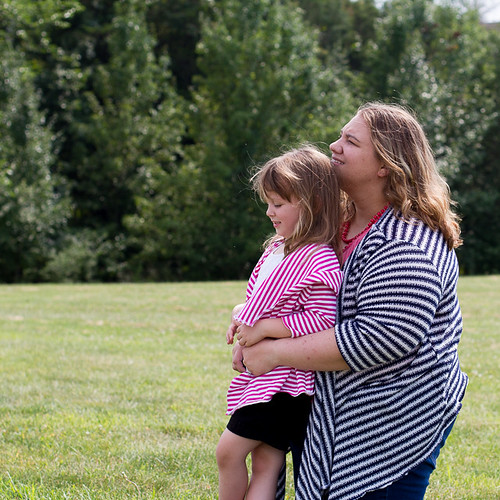
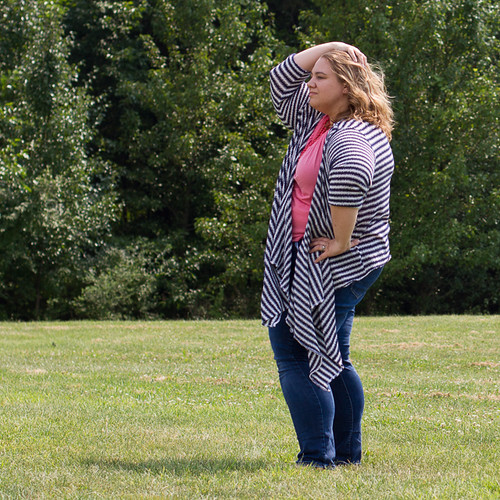
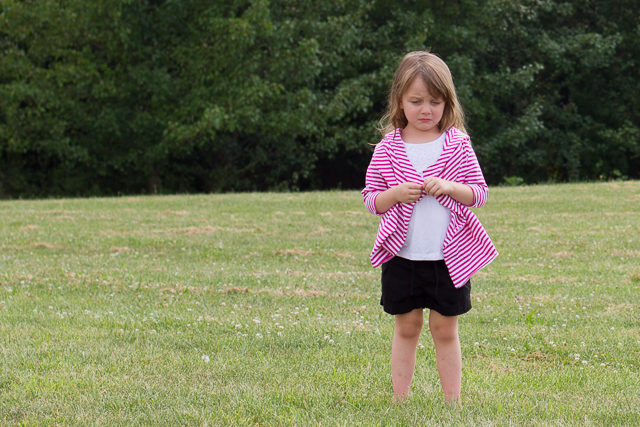
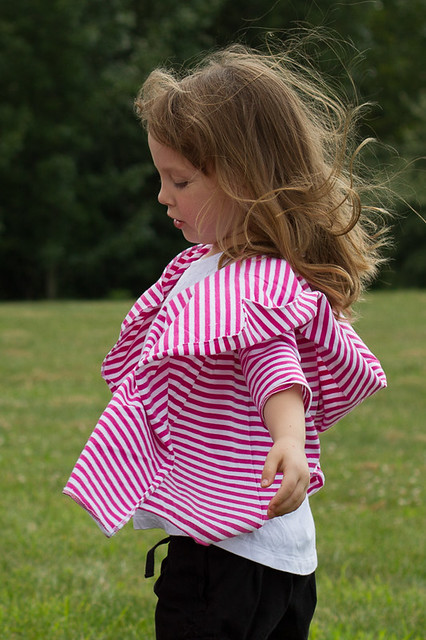
Next up is the Four Seasons Cardigan and Duster pattern which like all the others in this post is available in women’s and kids sizes. Both Little Bit and I have a tendency to be cold in public spaces that have A/C blasting in the summer yet we both aren’t huge fans of long sleeves, so for both of us I opted for the 3/4 sleeves.

EYMM Four Seasons Cardigan


I made mine in a light weight hacci sweater knit which should be the perfect weight for wearing around my office.

EYMM Four Seasons Cardigan


Little Bit’s is made out of a medium weight stripped knit that should warm her up nicely in cold spaces this summer and transition nicely into her wardrobe for fall. Hers I added a hood to because well, hood are fun.

EYMM Four Seasons Cardigan

EYMM Capsule Skirt


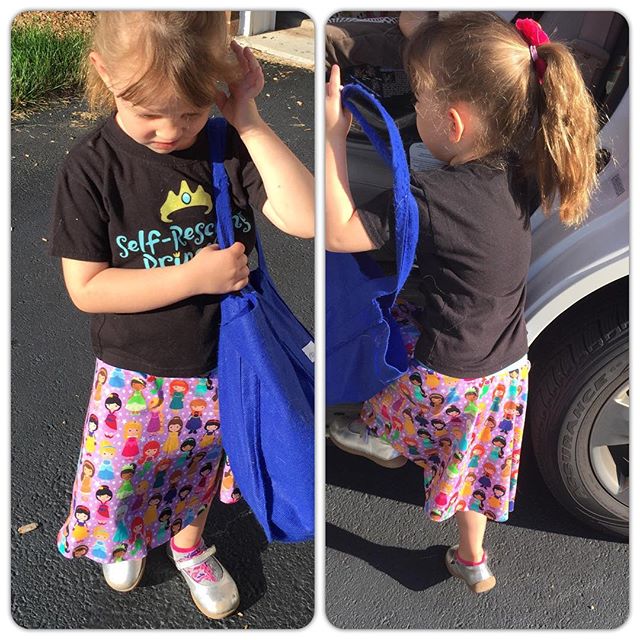
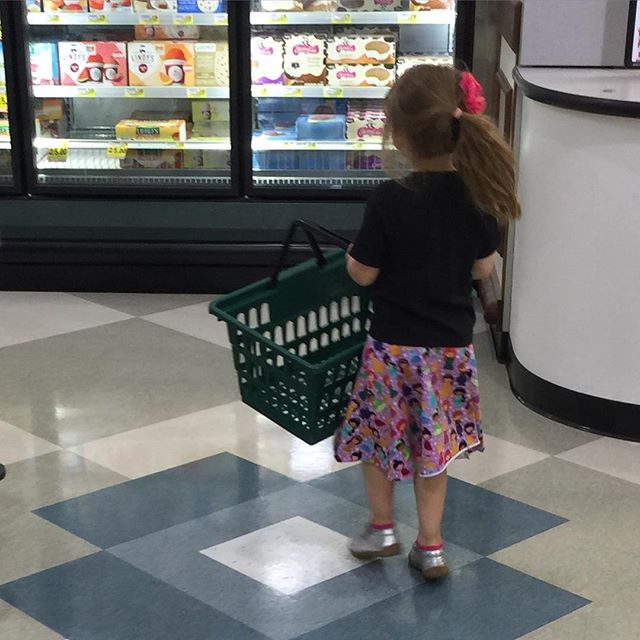
Lastly, is the newly released Capsule skirt. Which will probably become a staple in both of our wardrobes. It’s such an easy skirt to wear and has the bonus of having the option of hidden side seam pockets. Little Bit had a Knights and Princess theme day at camp, so the night before I was able to whip up this skirt in less than an hour. I opted out of the pockets for this sew, but will definitely include them in the future.

EYMM Capsule Skirt

One of the things I love about EYMM patterns is the size range that is included — kids NB – 18 or women’s XS-5X, and they often have bundle pricing for those patterns available for both girls and women. The patterns go together easily and the results are fantastic.

Happy Anniversary to Everything Your Mama Made & More! Thank you for including me in your blog tour.

Calla Lily Skirt Pattern Details

Pattern
Girl’s Calla Lily Skort (Newborn – 18 Tween)
Modifications
Left off the shorts part of the skort
Fabrics
Notes
I love this skirt. It looks adorable on and I love the way it moves.

Four Seasons Cardigan Pattern Details

Pattern
Women’s Four Seasons Cardigan & Duster (XS-5X)

~ Cardigan Length ~ 3/4 length sleeves ~ no hood ~
Fabrics
Navy Blue & White Stripe Hacci Sweater Knit from the June Girl Charlee KnitFix
Notes
This was the first time I worked with hacci and it was enough of a challenge for me to cut that I wasn’t even going to try for matching the stripes. It turned out to be easier than I was expecting and this is the perfect thing to grab when there is a chill in the air.

Four Seasons Cardigan – Girls Pattern Details

Pattern
Girl’s Four Seasons Cardigan & Duster (Newborn-18 Tween)

~ Cardigan Length ~ 3/4 length sleeves ~ hood ~
Fabrics
Pink and white stripped knit from Chez Ami

Capsule Skirt Pattern Details

Pattern
Girl’s Capsule Skirt (NB-18 & Doll)
Fabrics
Princess Party – Purple from Kiddie Prints

Blog Tour

*NOTE* The links below won’t show the tour posts until 11am PST on their day of the tour, BUT you are welcome to click through and check their blogs out at any time.

7/27
Connected by a Thread, Pattern Revolution, The Wholesome Mama

7/28
Climbing the Willow, Rebel & Malice, Hibbadoray

7/29
Pretty & Precious Clothing, Sprouting Jube Jube, Call Ajaire

7/30
Once Upon a Sewing Machine, Swoodson Says, Blessed X Five

7/31
Beri Bee Designs, Sewing the Seasons, Sew Outnumbered

8/1
Creative Counselor, Lulu & Celeste, Analog Bytes

8/2
Handcrafted by Red, Boutique Birdie, HattieLu Handmade

8/3
Capture, Craft & Cook, Welcome to Our Crazy World, Create 3.5


Leave a comment to win!

Not only is there an AMAZING blog tour going on but 1 lucky winner that leaves a comment below between now and 8.3.15 will win a FREE EYMM pattern of their choice!!!! Which one would you pick?

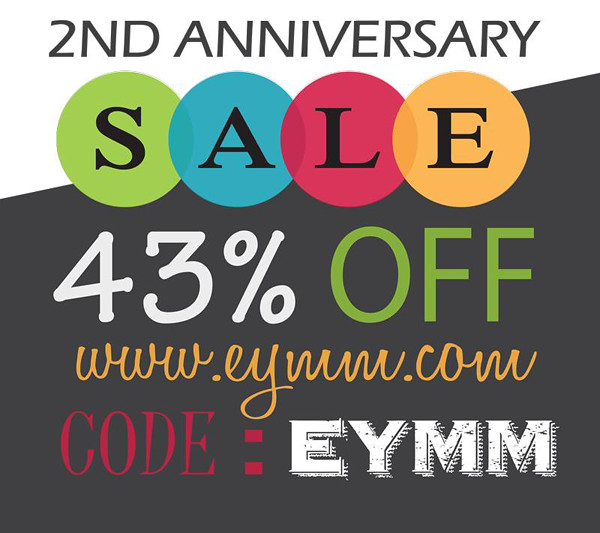
Then hop on over to EYMM to check out the awesome SALE, and an even bigger celebration giveaway with over $1000 in prizes. There will be 40 winners in all.

43% off at EYMM

Some of the links in the post above are “affiliate links.” This means if you click on the link and purchase the item, we will receive an affiliate commission. Regardless, we only recommend products or services we believe will add value to our readers.