I’m excited to share a tutorial for adding a mane and ears to a hoodie or hat. For this tutorial I’m going to use the Happy Homemade Sew Chic Kids Hoodie, but this tutorial should be generic enough to use for just about any hat or hoodie. My initial thought was to use the hat in the Oliver + S Little Things to Sew book, but my design director (aka preschooler decided she would prefer a hoodie at the last minute).
Supplies
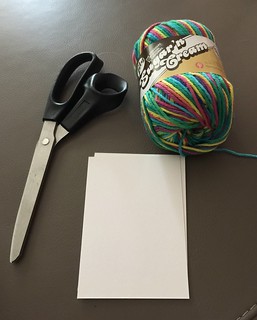
First thing you’ll need is to gather your supplies:
- Your pattern of choice and all of it’s required supplies
- Yarn the color (or colors) you want to use for your mane. When choosing a yarn keep in mind the texture and density, the yarn we ended up choosing for this tutorial is a thin, dense yarn that required more to achieve the fullness of the mane and ended up being rather on the heavy side. In the past we’ve used lighter, fuller yarn that has provided better results in my opinion.
- Index card or other thin item approximately 3-3.5 inches.
- Scissors.
- Ear Template. You can find a template to use as an ear pattern or you can create you own. Searching for <animal type> ear pattern will usually get you what you need. For this tutorial, I used this critter ear template and have self drafted ears in the past.
Steps
-
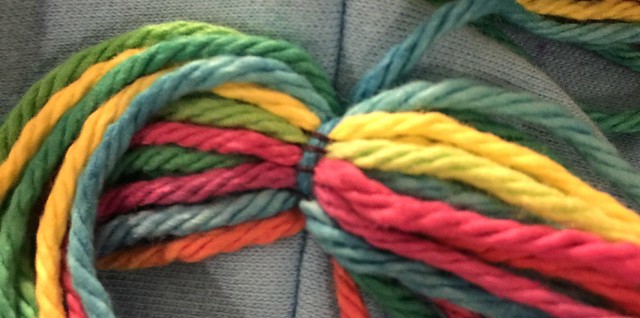
Make the Hair For Your Mane
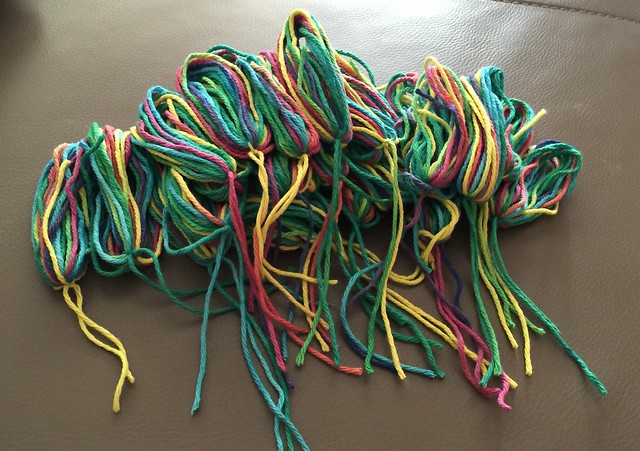
Take you index card and start wrapping the yarn around it to create a group of “hair.” Use another piece of yarn to tie the loops together; this is similar to making a pompom, just less full. Depending on the fullness of the yarn you are using, the number of wraps per group will vary — the rainbow yarn was 20 wraps per group, while a fuller yarn used around 15.

Continue this process until you have enough hair for your mane.
-
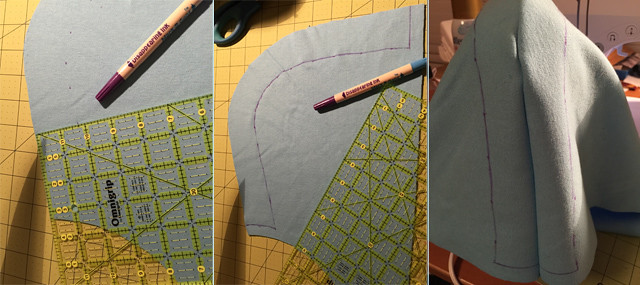
Cut Out Pattern Pieces and Mark Mane Location
After you’ve cut our your pattern pieces, make any necessary marks for designating the position of your mane. I wanted my maine to be around 2.5 inches wide, so while my pattern pieces were still flat, I marked 1.75″ inches in from each side (1.25″ on each half of the hood and .5″ for the seam allowance). Wanting to keep the hair out of the seam allowance I also marked off those areas.
-
Assemble Outside of Hood
I’ve opted to line my hood; I want to add the mane at this point before continuing with assembly. If you are not lining your hood or hat you can continue with assembly and add the mane afterwards.
-
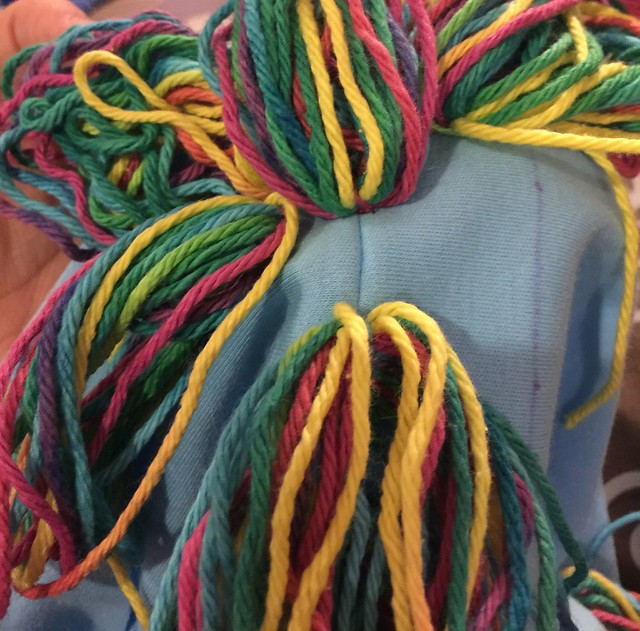
Add Mane
Next, you want to add your hair groupings to your hood. Depending on the fabric you are using there is a couple of ways to do this. For the knit hooding I’m making, I found it easier to sew the groupings to the hood. For fleece, I’ve pushed the yarn ends through the fleece and tied the yarn on the inside.
As you’re attaching the yarn, you’ll want to stagger your groupings. Your spacing will vary depending on the type of yarn you’re using and the size of your bundles.
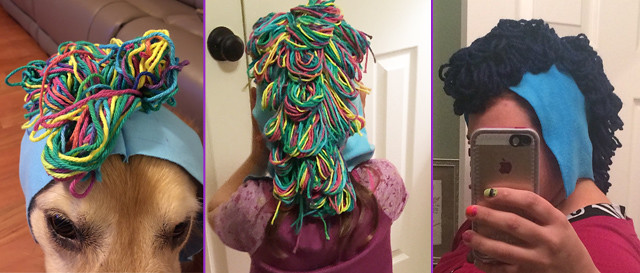
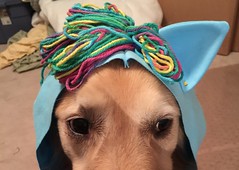
Find a model and try on your headpiece to see if you are happy with coverage and placement; tweak as necessary.
-
Ears
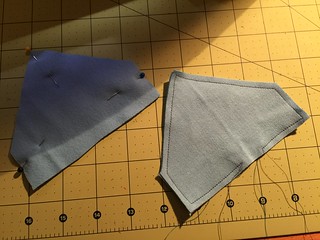
Cut and assemble your ears and then find a model to determine ear placement. *If you are lining your hood or have not completed hood assembly, remember the front seam allowance is still visible so keep that in mind or tuck it under to avoid placing ears too far forward.
-
Continue with Garment Assembly
Now is the time to add the lining to your hood and finish the remainder of your garment.
** Make sure to check seams are clear of mane and ears before sewing.
-
Styling Your Mane
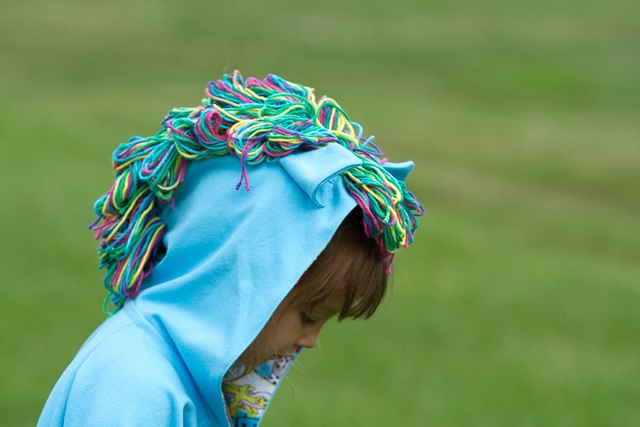
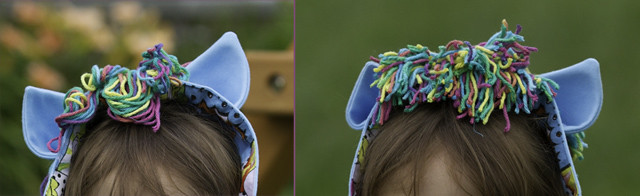
Now that the garment is finished, it’s time to style your mane. Trim up any straggly pieces of yarn. You can leave the yarn looped for a more curly mane or you may cut apart the loops for a straighter mane.
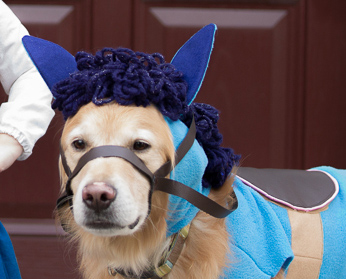
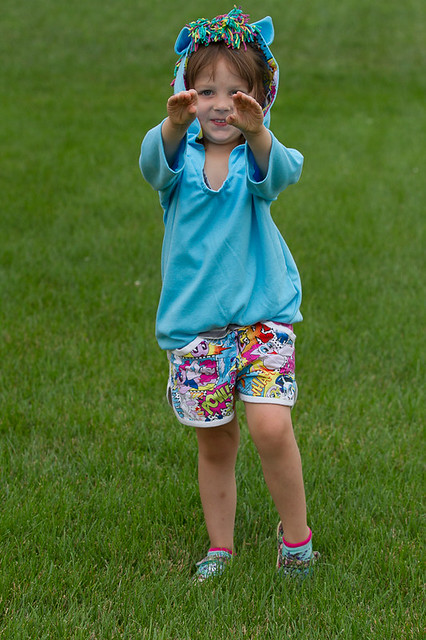
Now you should have a finished garment complete with mane and ears. My design director has determined we are not done with this project and has requested the addition of wings and a tail.
Details
- Patterns
-
- Pattern S in Happy Homemade Sew Chic Kids. I picked this pattern because I made it during a sew along and knew it would look good in knit.
- Pony ear pattern
- Fabrics
-
- Blue Knit from Chez Ami
- My Little Pony Comic Cotton from JoAnns (used for hood lining)
- Notions
-
- Rainbow yarn from JoAnns. After we had picked out the appropriate red, orange, yellow, green, blue, and purple yarns, my design director spotted this rainbow yarn and decided it would work for Rainbow Dash.
- Modifications
- I added additional length to the top front of the hoodie because I remember it being a bit shallow during the sew along. I also remember it being pointy so I rounded it out a bit as well.
- Notes
- The biggest disappointment was the selected yarn and the amount needed to create a full mane. We’ve had better success with other yarns.